Removing kitchen cabinets may seem intimidating, But with the right tools and techniques, It can be A straightforward process. In this article, We will guide you through the steps on how to remove the kitchen container without damaging your walls Or floors. Whether you are A DIY enthusiast Or just starting out with home improvement projects, Read on to find out how you can easily remove your kitchen container using simple tools and methods. So if you’re wondering “How do you remove kitchen cabinets?”, We’ve got you covered!
Tools And Materials Needed
The process may seem daunting at first, But with the right preparation And equipment, It can be A smooth and straightforward task. In this article, We will cover the essential tools you’ll need to remove your kitchen cabinets safely And efficiently.
Firstly, You will need protective gear such As safety glasses, Gloves, And A dust mask. This is especially important if you plan to do Any sanding Or demolition work during the removal process. Next up is A drill Or screwdriver for removing screws from the cabinet’s frame. A pry bar Or hammer can also come in handy for separating glued sections of cabinetry from each other Or from walls they may Be attached too tightly.
List Of Necessary Tools (Screwdriver, Drill, Pry bar, Etc.)
Some of the most basic And essential tools include A screwdriver, Drill, Pry bar, And hammer. With these tools in hand, You will be able to take apart your old cabinets quickly And easily.
Firstly, Start with the screwdriver. You’ll want to use this tool to remove all screws from the cabinet doors and hinges so that they can be removed without any trouble. Once you’ve done this, Move on to using your drill. The drill will come in handy when removing screws that have been screwed into studs Or other hard surfaces.
Next up is the pry bar – An essential tool for removing wooden cabinets from their frames without damaging them too much. This is because it’s designed specifically for prying things apart gently while still being strong enough to handle heavier materials like wood Or metal.
Materials That May Be Needed (Drop Cloths, Plastic bags, Etc.)
Removing kitchen cabinets can be A daunting task, Especially if you are not well-prepared. One of the most important steps in removing kitchen container is ensuring that you have all the necessary materials before starting the project. Some of the essential materials that you may need include drop cloths, Plastic bags, And packing tape.
Drop cloths are necessary to protect your floor from Any damage Or debris while removing your kitchen container. They also help keep your work area clean by catching any dust Or debris during demolition. Plastic bags come in handy when sorting out items that need to be disposed of, Such As screws and nails. You can use packing tape to seal up these bags securely for easy disposal.
In addition to drop cloths, plastic bags, And packing tape, You may also need tools like A hammer Or screwdriver for removing any fasteners holding the cabinets together.
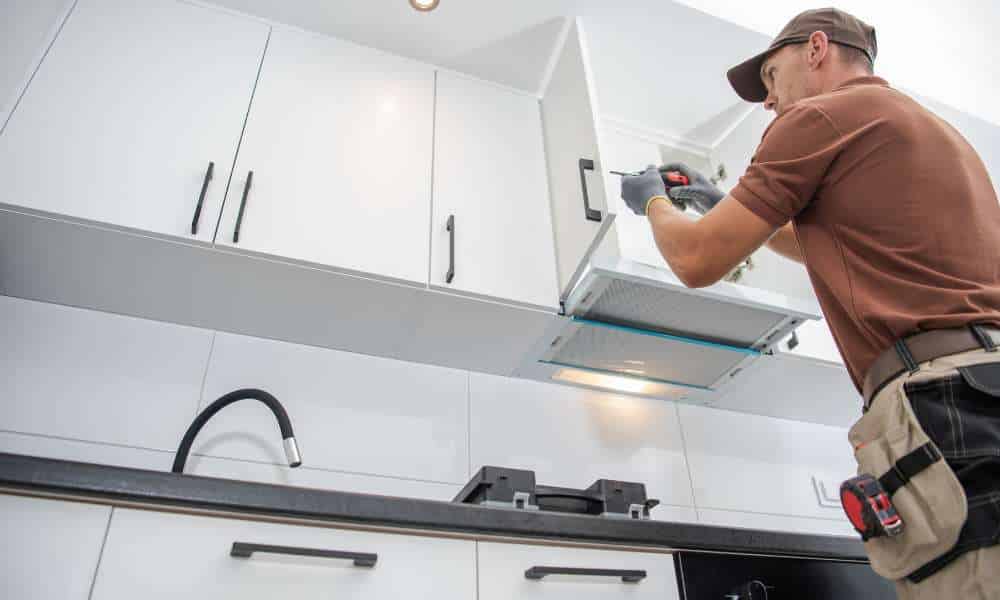
Preparing For Removal
This project can be completed in no time! The first step is to gather all necessary materials, Including safety gear such As gloves and goggles. Next, Ensure that you have the proper tools on hand such as A drill, Screwdriver, Pry bar, And hammer.
The second step is to remove all cabinet doors And drawers. This will make it easier to access the container themselves. Use your screwdriver or drill to remove any screws Or nails holding the doors And drawers in place. Set them aside in A safe location for reassembly later. Next up is removing the actual cabinets from the wall. Start by locating any screws Or brackets securing them into place.
Emptying The Cabinets
Removing them might seem like A daunting task, but it can be done with ease. Here are some simple steps on how to remove kitchen cabinets. Firstly, Clear out all the items inside the cabinet and remove any shelves Or drawers that may be present. This ensures that no items get damaged during the removal process. Next, Locate the screws that hold the container in place. They are usually found at the back of the cabinet And may be concealed by paint or filler. Using A drill, Unscrew all the screws holding each cabinet to its neighbor and to the wall. If needed, Use A crowbar Or screwdriver to pry off any adhesive between the cabinets and wall.
Protecting Countertops And Floors
Whether you’re replacing cabinets, Updating appliances, Or installing new flooring, Taking steps to prevent damage will save you time and money in the long run. One area that requires careful attention is removing kitchen container. This task can be challenging and potentially damaging if not done correctly. Before starting the removal process, It’s important to protect your countertops and floors. Covering your countertops with A protective layer such as cardboard Or drop cloths will prevent scratches Or dents from heavy tools Or falling debris during the cabinet removal process. Similarly, Using A floor protector like plastic sheeting Or A thick layer of cardboard will keep your floors free from scratches caused by dragging heavy container across them.
Turning Off Power To Any Electrical Outlets In The Cabinets
This can be an intimidating task for those who have never done it before, But with A little bit of know-how and some elbow grease, anyone can do it. One of the first steps in removing your kitchen cabinets is turning off power to any electrical outlets that may be inside them. This is important for safety reasons and will prevent any accidents from occurring during the removal process. To turn off power to any electrical outlets in your kitchen container, Start by locating your home’s circuit breaker panel. Once you have located this panel, Identify which circuit controls the outlet(s) inside your cabinets. Flip the switch Or toggle corresponding to that circuit until it is in the “off” position.
Removing Upper Cabinets
Removing upper cabinets from your kitchen can give it A whole new look and feel. When you take away the bulky upper container, You open up your kitchen space to create an airy and welcoming atmosphere. However, Removing these cabinets is not always As easy As it seems. Here are some tips on how to remove your kitchen container efficiently and safely. The first step in removing upper kitchen cabinets is to clear out any items that may be inside them. You don’t want anything falling out or breaking during the removal process. Once everything has been taken out of the cabinet, Use A drill to remove any screws Or bolts that are holding it in place. If there are no visible screws, Try prying off the molding around the cabinet with A pry bar to expose hidden screw heads.
Next, Locate any electrical wires Or plumbing behind the cabinet before attempting to remove it.
Loosening Screws That Hold The Cabinets To The Wall
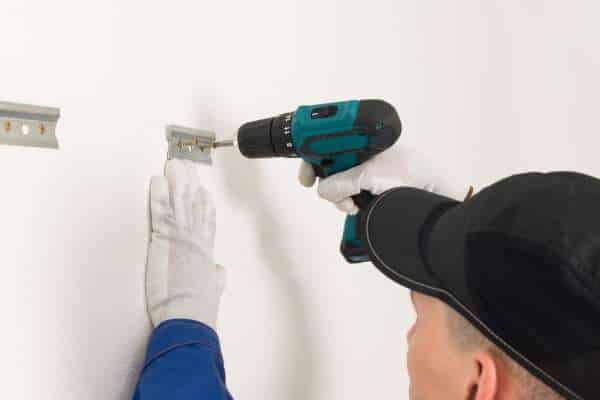
When it’s time for A kitchen renovation, One of the first things you’ll need to do is remove your existing cabinets. But before you can install new ones, You’ll need to know how to take down the old ones safely and efficiently. One of the most important steps in this process is loosening the screws that hold your container to the wall. To begin removing your kitchen cabinets, Start by gathering all the necessary tools and supplies. You’ll need A drill Or screwdriver with different bits, A pry bar, A hammer. And possibly A reciprocating saw if there are any nails Or screws that won’t budge. Once you have these items at hand, Locate all the screws holding your cabinet in place.
To access these screws, You may need to remove drawers or doors first. Carefully unscrew each one using your drill Or screwdriver until they are completely loose.
Removing The Cabinets From The Wall

Removing kitchen cabinets can be A daunting task, especially if you have never done it before. However, With the right tools and A little bit of know-how. Taking down your container from the wall can be quite simple. Before starting the process. Make sure you have all the necessary items: Screwdriver (both Phillips and flathead), Hammer, Pry bar Or crowbar, Safety goggles and gloves.
The first step is to empty all the contents from inside your cabinet. This includes dishes, Pots and pans, Cups and glasses As well as any other items that may be stored inside. Once this is done, Locate where your container are attached to the wall – typically screws will be visible in either the top Or bottom of each cabinet.
Next up is removing these screws using A drill Or screwdriver. Make sure to keep track of them for later Use when reinstalling your cabinets.
Patching And Painting Holes Left In The Wall

Whether you’re renovating your kitchen Or just updating the cabinetry, Removing old cabinets can leave unsightly holes in your walls. These holes may detract from the overall look of your space and lower its resale value. Fortunately, Patching and painting these holes is A relatively easy process that can be completed in just A few steps.
The first step to patching and painting holes left in the wall is to clean the area thoroughly with soap and water. This will help remove any dirt Or debris from the surface of the wall. Allowing for better adhesion of the patching material. Next, Apply spackle Or drywall putty to fill in any gaps Or cracks around the hole.
Removing Lower Cabinets
Repurpose the space for other purposes? Removing kitchen cabinets may seem daunting, But it can be A DIY project if you have the right tools and knowledge. In this article, We will guide you on how to remove lower kitchen cabinets safely and efficiently.
Firstly, It is important to clear out all items from your container before starting the removal process. This includes dishes, Cookware, And any other items stored in your cabinets. Next, Locate the screws that hold the container in place, Which are typically located at the back of the cabinet and near its corners. Use A screwdriver Or drill to loosen these screws until they are completely removed. Once all screws have been removed, Gently lift up on the cabinet to release it from its position on the wall.
Removing Any Countertop Material That Is Attached To The Cabinets
The first step is to remove any countertop material that is attached to the cabinets. If your countertop is made of laminate, You can use A heat gun or hairdryer to soften the adhesive and peel off the material.
If your countertop is made of granite Or other natural stone, It’s best to hire a professional to remove it. These materials are heavy and difficult to handle, And there’s A risk of damaging them during removal. Once the countertop is removed, You’ll need to disconnect any plumbing fixtures And electrical connections that may be attached to the container. Next, Remove all drawers and shelves from the container. Use A screwdriver Or drill to unscrew any screws holding the cabinets in place.
Options For Disposing Of Cabinets (Donating, Recycling, Etc.)
When it comes to renovating your kitchen, One of the most significant challenges is figuring out what to do with old container. Fortunately, There are several options available for disposing of kitchen container. In this article, We’ll explore some of the best ways to decorating above kitchen cabinets.
The first option is donating your old kitchen container. Many non-profit organizations accept home improvement donations, Including cabinetry. Donating your cabinets is An excellent way to give back to your community while also getting rid of unwanted items. You can search online for local charities that accept these types of donations Or contact Habitat for Humanity for more information.
Another option for removing kitchen container is recycling them. Recycling your old cabinets means they won’t end up in A landfill and can be used again in another form or function. Contact your local recycling center Or waste management company to learn more about their cabinet disposal services.
Properly Disposing Of Any Hazardous Materials (Paint, Varnish, Etc.)
Removing old kitchen cabinets can be an exciting prospect for any homeowner, Whether you’re updating your space Or renovating entirely. However, It’s important to remember that the materials you’re removing could potentially be hazardous if not disposed of properly. Paint, Varnish, And other chemicals commonly found in cabinetry can be harmful to both people and the environment if not handled correctly.
So how do you remove kitchen cabinets safely? First and foremost, Always wear protective gloves and A mask when handling any materials that may contain harmful chemicals. Next, Carefully remove all hardware from the container using A screwdriver Or drill. This includes handles, Hinges, And any other attachments. Once the hardware has been removed, Use A pry bar Or hammer to gently loosen the cabinet from its position on the wall.
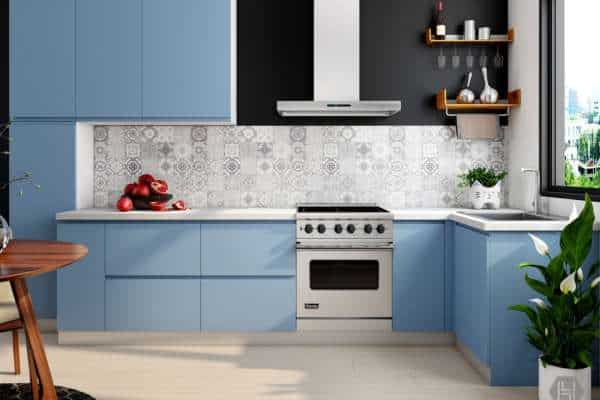
Conclusion
Removing kitchen cabinets is not as difficult As it may seem. With the right tools and preparation, You can successfully remove your container without causing any damage to your kitchen Or injuring yourself. Remember to always wear protective gear and consult with A professional if you are unsure about any steps in the process. By following these simple guidelines. You can safely and efficiently remove your old kitchen cabinets and make room for A fresh new look. Don’t hesitate to start planning your kitchen renovation today!